







2 Methods To Make Micronutrient Fertilizer: Practical DIY Approaches
Learning how to make micronutrient fertilizer at home is not as simple as mixing a few ingredients together. Micronutrients are required in very small amounts, and creating a balanced fertilizer depends on the right nutrient sources, accurate measurements, and plant needs. This guide explains two practical approaches: a simple natural method using seaweed and an […]
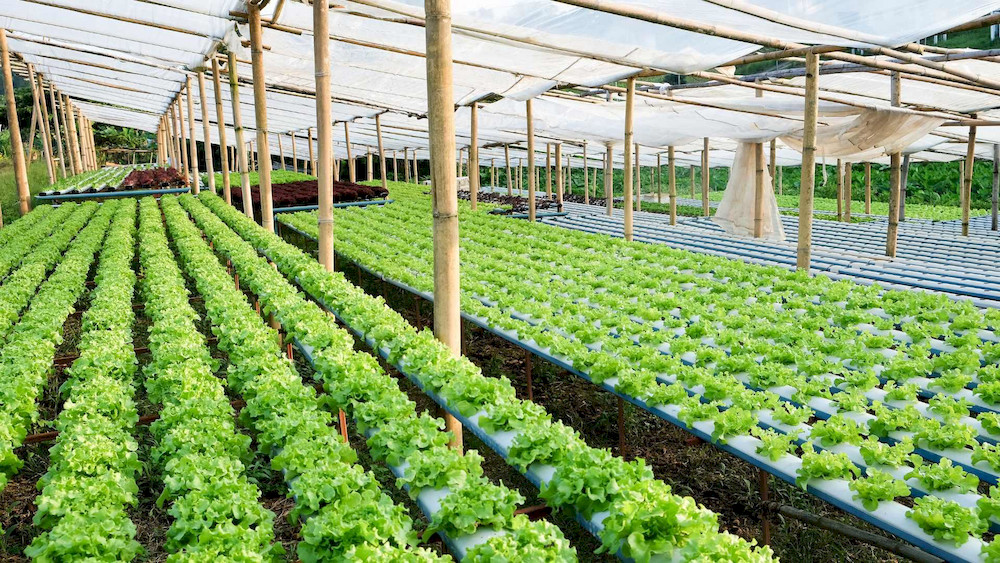

Learning how to make micronutrient fertilizer at home is not as simple as mixing a few ingredients together. Micronutrients are required in very small amounts, and creating a balanced fertilizer depends on the right nutrient sources, accurate measurements, and plant needs. This guide explains two practical approaches: a simple natural method using seaweed and an advanced method for preparing a hydroponic micronutrient solution.
| Method | Time Needed | Difficulty | Best For |
| Seaweed Micronutrient Fertilizer | 3 to 4 weeks(can brew for several months for a stronger “tea”). | Easy; involves simple collection, thorough washing, and soaking in water | Organic gardens, vegetables, flowers, and general soil improvement. |
| Hydroponic Micronutrient Concentrate | Fast; the solution is ready to use immediately once the chemical mixing is complete. | Hard / Advanced; requires high-precision scales to measure milligrams and careful handling of specific chemical salts. | Hydroponic systems and growers who need precise nutrient control. |
1. How to Make Micronutrient Fertilizer From Seaweed
Seaweed-based fertilizer is a natural supplement that can improve soil nutrient availability and provide small amounts of trace elements such as iron, zinc, and manganese.
Here is a simple guide on how to prepare a seaweed-based nutrient supplement for your plants.
1.1. Ingredients & Tools
To begin your DIY project, gather the following basic materials and tools from your home or local beach:
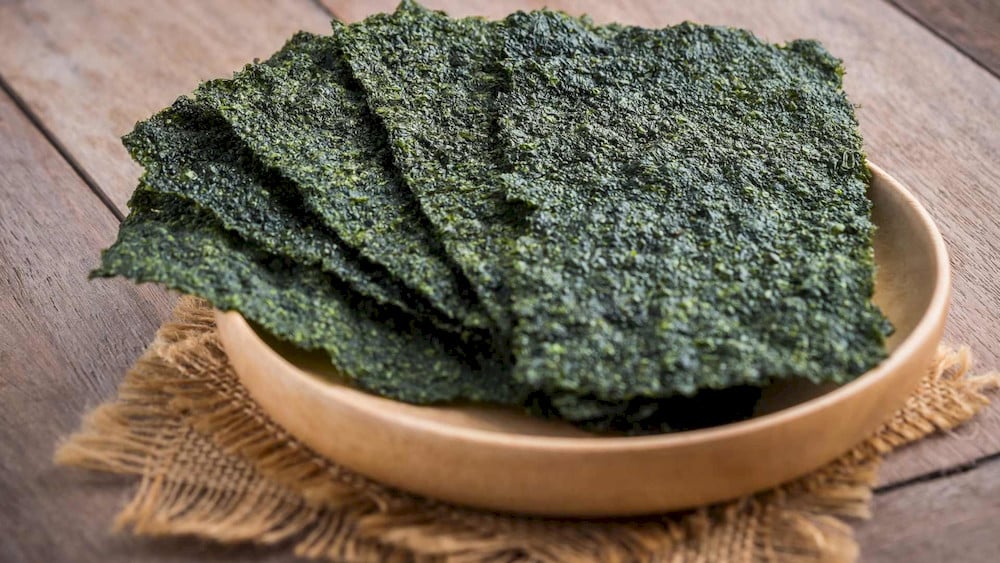
- Fresh Seaweed: Collected from the shore (ensure you follow local laws regarding collection).
- Clean Fresh Water: Rainwater is an excellent choice.
- Essential Tools: A pair of scissors, a large 20-liter (5-gallon) bucket with a lid, and a strainer.
1.2. Step-by-Step Instructions
Step 1: Preparation
- Clean the seaweed: Remove any debris such as plastic, fishing lines, or bottle caps. Small seashells can be removed or left in place. If present, they may slowly release calcium, which is a secondary macronutrient rather than a micronutrient.
- Rinse away excess salt: Wash the seaweed thoroughly with fresh water and soak it for about one hour. This helps reduce salt levels that could harm plants.
- Cut into small pieces: For larger seaweed varieties such as kelp, chop or cut them into smaller sections to speed up the fermentation process.
Step 2: Fermentation
- Fill the container: Add the cleaned and chopped seaweed to a bucket, then pour in enough fresh water to fully submerge the material.
- Cover securely: Place a lid on the bucket and weigh it down with a heavy object to keep the contents contained during fermentation.
- Allow the mixture to ferment: Store the bucket in a warm, sunny location away from living areas, as fermentation can produce strong odors. Let the mixture ferment for 3 – 4 weeks, or longer if a more concentrated fertilizer is desired.
Step 3: Harvesting and Storage
- Strain the liquid: Once fermentation is complete, filter out the seaweed residue to collect the nutrient-rich liquid fertilizer.
- Store correctly: Transfer the liquid to an airtight container and keep it in a cool, dry place. For optimal quality, use it within 3 weeks.

Application Tips:
|
2. How To Make Micronutrient Fertilizer Stock Solution for Hydroponics
For hydroponic systems, preparing a concentrated micronutrient stock solution is far more accurate and convenient than measuring small amounts of individual salts for each feeding. A 1:1000 stock solution allows you to deliver essential trace elements consistently, reduce mixing errors, and simplify nutrient management over time.
Note: This method is an advanced approach and requires accurate measurement. Most home growers may prefer ready-made micronutrient mixes for convenience and consistency.

2.1. Ingredients & Tools
To prepare a concentrated micronutrient stock solution for hydroponics, gather the following materials:
Ingredients
- Iron sulfate (anhydrous): 1.632 g (the primary source of Fe).
- Disodium EDTA: 7.2 g (a chelating agent that keeps metals from turning into solid sediment).
- Boric Acid: 0.715 g (the source of B).
- Manganese sulfate: 0.687 g (the source of Mn).
- Zinc Sulfate (monohydrate): 0.343 g (the source of Zn).
- Copper Sulfate (pentahydrate): 0.098 g (the source of Cu).
- Sodium Molybdate (Dihydrate): 0.067 g (optional source of Mo).
- White vinegar (3.5% acetic acid): 50 mL (to lower the pH and keep the mix liquid).
- Sodium Benzoate: 0.4 g (a preservative to stop mold and bacteria growth).
- Distilled water: Used to reach a final volume of 250 mL (do not use tap water as it can cause minerals to clump).
- Food coloring: optional, only used for easier identification.
Equipment:
- High-precision electronic scale.
- Magnetic stirrer or glass stirring rod.
- 250 mL volumetric flask.
- Mixing beaker.
- Spray bottle with distilled water.
- Syringe for dosing.
- Protective gloves and safety goggles.
2.2. Step-by-Step Instructions
Step 1: Preparing the Acidic Base
Pour 50ml of white vinegar into your beaker first. This sets the acidity immediately, ensuring that all the mineral salts stay dissolved instead of forming insoluble chunks.
Step 2: Dissolve Iron and EDTA
- Add the Iron sulfate (1.632g) to the vinegar first, as it takes the longest to dissolve and contains the most impurities.
- Immediately stir in the 7.2g of Disodium EDTA; this acts as a “shield” to help the iron fully integrate and stay in liquid form.
- Use a bit of distilled water to rinse any remaining powder from your tools into the mix to ensure you get every milligram.
Step 3: Add the Remaining Micronutrients
Add the following ingredients one at a time, stirring thoroughly after each addition:
- Manganese sulfate.
- Copper sulfate (the solution may turn a teal-blue color at this stage).
- Boric acid (finely grinding it beforehand can help speed up dissolution).
- Zinc sulfate.
- Sodium molybdate (optional).
Allow each ingredient to dissolve completely before adding the next to maintain solution stability.
Step 4: Add Preservative and Adjust Volume
- Add 0.4 g (400 mg) of Sodium Benzoate and stir until completely dissolved. This preservative helps prevent mold, algae, and bacterial growth, as the vinegar in the solution can serve as a food source for microorganisms.
- Add red and green food coloring until the liquid becomes very dark brown or nearly black. The dark color makes the concentrate easier to identify and helps protect light-sensitive micronutrients from degradation during storage.
- Add distilled water gradually until the total volume reaches exactly 250 mL.
- Stir or shake thoroughly to ensure a uniform solution.
Step 5: Store and Use
Transfer the finished concentrate into a dark glass bottle and label it clearly with the preparation date and dilution ratio. Store the bottle in a cool, dark location away from direct sunlight.
For application, use a syringe to measure the concentrate accurately. The recommended dilution ratio is 1:1000, meaning:
- 1 mL of concentrate per 1 L of final nutrient solution.
- 10 mL of concentrate per 10 L of nutrient solution.
- 100 mL of concentrate per 100 L of nutrient solution.
This stock solution allows precise dosing while minimizing the risk of micronutrient imbalances in hydroponic systems.
Important Success Tips:
|
3. Important Notes for Making Micronutrient Fertilizer at Home
To ensure your homemade nutrients provide the best results without harming your garden, keep the following safety and storage tips in mind:
- Always dilute before application: Most homemade micronutrient fertilizers are highly concentrated and should be mixed with water before use. Proper dilution helps prevent root damage and leaf burn.
- Avoid overapplication: Apply micronutrients only when needed or according to a regular schedule. Excessive use can lead to nutrient imbalances and toxicity.
- Store in dark containers: Light can degrade certain nutrients and reduce fertilizer effectiveness over time. Dark-colored bottles help maintain solution stability during storage.
- Check for signs of spoilage: Discard the fertilizer if it develops a foul odor, visible mold, or unusual clumping. A fresh batch is always safer and more effective than a contaminated one.

Mastering how to make micronutrient fertilizer allows you to transform simple household and natural materials into valuable plant nutrition. With the right ingredients and application methods, these homemade solutions can help prevent nutrient deficiencies, support stronger growth, and improve crop quality throughout the season. Start with one recipe, observe how your plants respond, and gradually build a nutrient program that keeps your garden productive and resilient year-round.



Amino acid protein hydrolysate fertilizer is a sustainable biostimulant produced by chemically or enzymatically breaking down organic proteins into readily available amino acids and peptides. By supplying these pre-formed building blocks, it enables plants to absorb nutrients more efficiently without expending additional energy to synthesize amino acids from inorganic nitrogen. As a result, this fertilizer […]

Micronutrients for banana plants play a vital role in supporting healthy growth, efficient photosynthesis, strong bunch development, and consistent fruit quality throughout the growing season. Although these nutrients are only required in trace amounts, deficiencies can quickly reduce plant vigor, lower yields, and increase susceptibility to environmental stress. This guide explains the seven essential micronutrients […]

Micronutrients for citrus trees are just as important as NPK fertilizers for producing sweeter fruit, better peel color, and consistently high yields. Without an adequate supply of essential trace elements, citrus trees can develop nutrient deficiencies that reduce fruit quality, weaken growth, and limit overall productivity even when macronutrient requirements are met. This guide explains […]
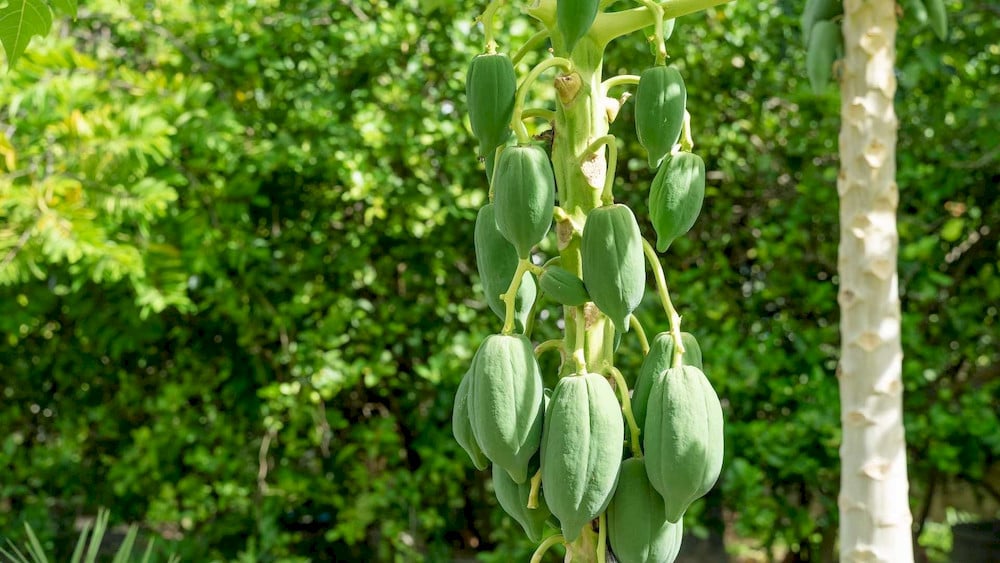
Achieving uniform, high-quality papaya fruits requires more than just a balanced NPK supply. Micronutrients for papaya plants, including Boron, Zinc, Iron, Manganese, and Copper, regulate key processes such as flowering, fruit formation, sugar accumulation, and plant defense. Understanding the function of each micronutrient and recognizing early deficiency symptoms allows growers to develop a more precise […]

Soybean yield depends not only on nitrogen, phosphorus, and potassium but also on an adequate supply of essential micronutrients. Although required in small amounts, these nutrients regulate critical processes such as photosynthesis, nitrogen fixation, enzyme activation, and seed development. This guide explores the 9 essential micronutrients for soybeans, their functions, deficiency symptoms, and the most […]

Micronutrient fertilizers play an important role in supplying essential trace elements that support healthy crop growth and optimize yield potential. However, not everymicronutrient fertilizer typeperforms the same, as nutrient availability and effectiveness can vary depending on soil conditions and application requirements. From inorganic sources and synthetic chelates to natural organic complexes, each option offers unique […]