







How to Make Fish Amino Acid Fertilizer: The Complete Step-by-Step Guide
Homemade fish amino acid fertilizer primarily uses the cold fermentation method of Korean Natural Farming (KNF). This process efficiently utilizes organic waste, providing a high-quality, cost-effective alternative to commercial fertilizers. This comprehensive guide breaks down how to make fish amino acid fertilizer into four clear steps, from ingredient preparation to the final fermentation process, ensuring […]
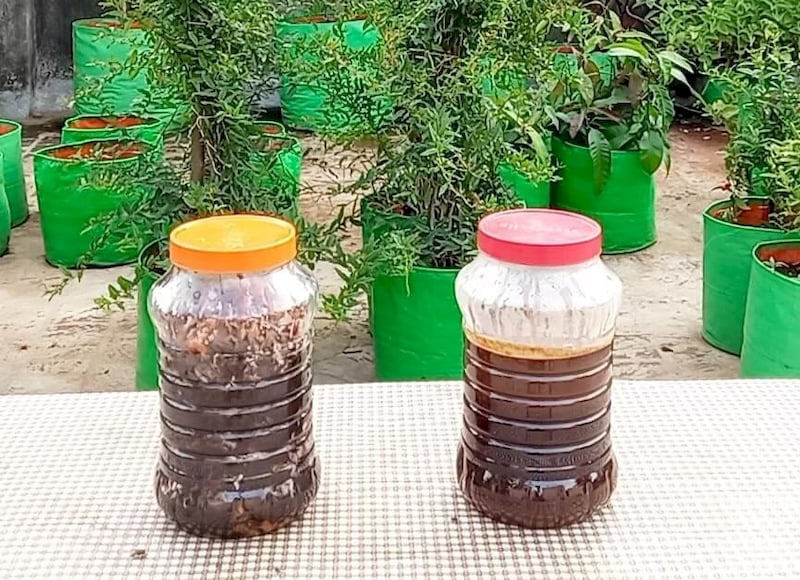

Homemade fish amino acid fertilizer primarily uses the cold fermentation method of Korean Natural Farming (KNF). This process efficiently utilizes organic waste, providing a high-quality, cost-effective alternative to commercial fertilizers. This comprehensive guide breaks down how to make fish amino acid fertilizer into four clear steps, from ingredient preparation to the final fermentation process, ensuring you can successfully create your own organic nitrogen fertilizer.
1. Ingredients and Tools to Make FAA
FAA is an amino-acid-rich solution extracted from fish via cold fermentation with brown sugar, originating from the Korean Natural Farming (KNF) system. It helps regenerate soil microbiology and enriches soil fertility through its sustainable action mechanism.
Ingredients:
- Fresh fish byproducts: Heads, bones, skin, scales, guts. Blue‑black fish such as mackerel, scad, sardines, herring, and salmon are rich in protein, vitamins, amino acids, and essential fatty acids like DHA and EPA, making them a good choice for producing nutrient‑rich FAA. Ideally use fresh fish within a few hours. However, spoiled fish can still be used and may even shorten the fermentation time because decomposition has already started. Just make sure the fish does not have an abnormal putrid smell and is free of oil, grease, or chemical contaminants.
- Brown sugar (or raw sugar, jaggery/panela): Amount equal to the weight of the fish.
Tools:
- Food‑grade plastic bucket, earthenware jar, or glass container, do not use metal – acids produced during fermentation can corrode it.
- Scale for accurate measurement.
- Knife and cutting board to chop the fish.
- Mosquito netting, a breathable paper towel, or fine mesh to cover the container.
- Rubber band or string.
- Sieve or cheesecloth to filter the finished liquid.
- Dark glass bottles for storage.
Scale reference table:
| Scale | Apartment / Balcony | Home garden | Small farm |
| Fish | 1.0 lbs (0.45 kg) | 12.0 lbs (5.4 kg) | 25.0 lbs (11.3 kg) |
| Sugar | 1.0 lbs (0.45 kg) | 12.0 lbs (5.4 kg) | 25.0 lbs (11.3 kg) |
| Fermentation container volume | 1 – 2 gal (4L – 8L) | 3 – 5 gal (11L – 19L) | 10 – 15 gal (38L – 57L) |
Note:
- The table above is for reference only. All columns follow the standard 1:1 weight ratio. Some practitioners add extra sugar (e. g., 14 lbs sugar for 12 lbs fish) for better fermentation control – this is optional.
- Fill the container to a maximum of 2/3 of its volume, leaving 1/3 headspace for gas release during fermentation. FAA fermentation produces gas pressure and foam; overfilling may cause the liquid to overflow or the container to swell and crack.
2. 4 Steps to Make Fish Amino Acid Fertilizer at Home
Each step outlines the underlying principles, empowering you to adapt the process to different situations.
Step 1: Chop the fish byproducts
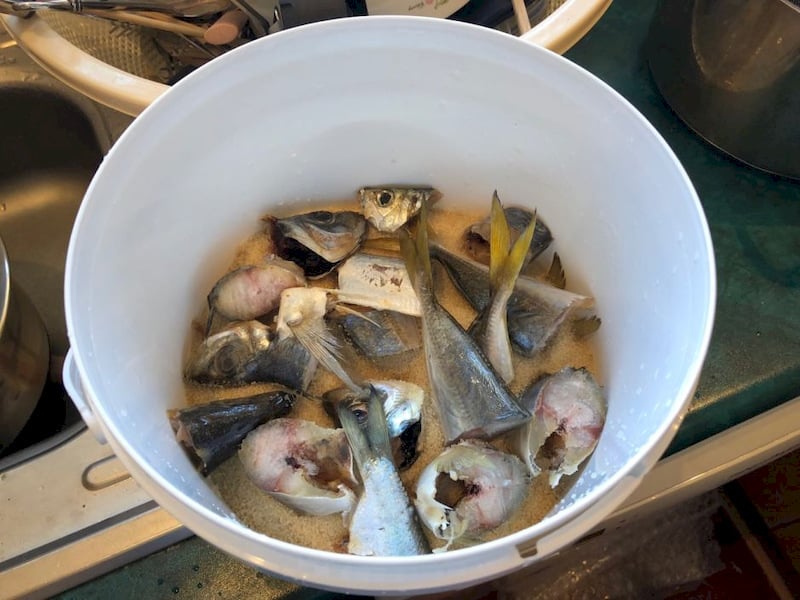
- Cut fish byproducts into small pieces (about 2–3 cm) to increase the surface area in contact with sugar, thereby accelerating fermentation.
- For small fish (anchovies, juvenile herring, etc.) you can ferment them whole – no need to chop.
Step 2: Weigh ingredients at a 1:1 ratio
- Accurately weigh fish byproducts and brown sugar at a 1:1 ratio (fish: sugar).
- In KNF, approximating is acceptable, but the more accurate, the better.
- Practical tip: A 1:1 ratio is standard. For better fermentation control, you can increase sugar slightly (e. g., 14 lbs sugar for 12 lbs fish) – this is optional but recommended for beginners.
Step 3: Layer ingredients in the container (optional)
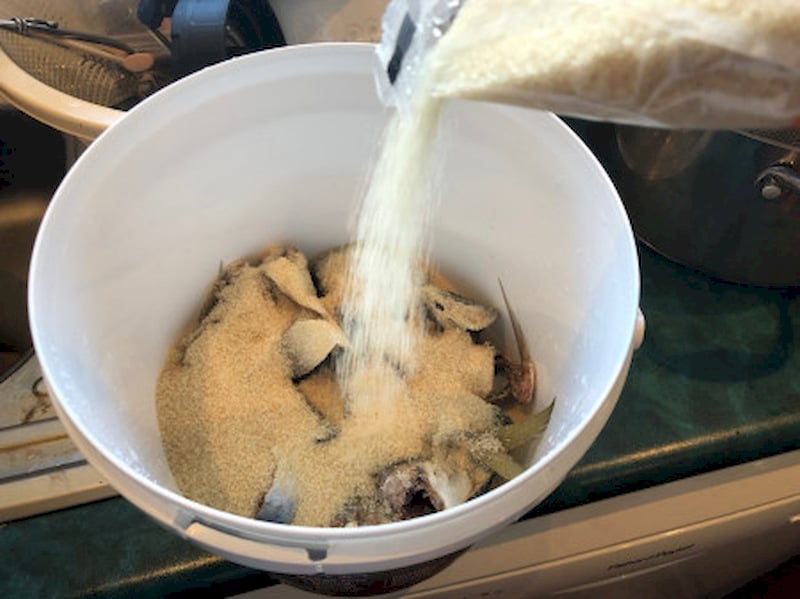
- If possible, alternate layers of sugar and fish so that the sugar evenly covers all fish surfaces, promoting juice extraction.
- Container capacity note: Only fill the mixture to a maximum of 2/3 of the container’s volume, leaving 1/3 headspace for gas expansion without bursting the container.
Step 4: Cover and start fermentation
- Cover the container opening with mosquito netting, a breathable paper towel, or fine mesh; secure with a rubber band or string.
- Do not use an airtight lid during fermentation – if you do, you must open it periodically to release built‑up gas. Reason: gas‑producing fermentation without an outlet can create pressure, even causing the container to explode.
- Place the container in a dark, well‑ventilated, cool place away from direct sunlight and rain.
| Complete fermentation time: After the mixture releases liquid (within 2 weeks), you can let the container sit for an additional 3 to 6 months under cool, dark conditions. The longer it ages, the more amino acids are broken down into smaller units, making them easier for plants to absorb. (After the first 7-10 days, when vigorous bubbling subsides, you may switch to a regular screw cap for long-term storage, but if you see any swelling, revert to a breathable cover.) However, if you need a quick nitrogen boost, you can use the FAA after 1-2 weeks – though the nutrient profile will improve significantly with longer aging (3-6 months). Before applying, check the correct dosage of fish amino acid per acre to avoid over-concentration. |
3. Troubleshooting – How to Fix Every Common FAA Problem
You should be concerned when you encounter these 5 common situations:
3.1. Problem: The fermentation mixture smells putrid
This is the most serious issue – it indicates protein decomposition has shifted toward putrefaction instead of proper fermentation.
The only solution – add an additional 10 – 20% brown sugar relative to the current mass, mix well, and ensure your breathable cover (paper or cloth) is securely fastened to keep insects out. The extra sugar creates high osmotic pressure, which inhibits putrefactive bacteria and promotes beneficial lactic acid bacteria. Do not use an airtight lid during active fermentation, as gas buildup can be dangerous. Maintain a breathable cover throughout the fermentation period
3.2. Problem: The mixture does not release liquid (execution error)
According to KNF principles, when fish and brown sugar are mixed at 1:1, the osmotic pressure from the sugar draws water and nutrients out of the fish cells, creating a liquid. This process usually takes 2 – 3 days (at 20°C) or 5 – 10 days (at 10°C). If after 14 days the mixture is still dry with no liquid, the procedure has gone wrong.
Solution 1 – Check and add sugar:
- Re‑check the fish‑to‑sugar ratio you used. If sugar is lacking, add 10 – 20% more brown sugar relative to the current mass.
- Mix well and press down firmly.
- Leave for another 3 – 5 days and monitor.
Solution 2 – Chop or grind the fish further (apply when fish pieces are too large):
- Use a clean tool (knife, scissors) to chop the fish smaller directly in the container, or roughly crush it.
- Stir well with the sugar, press down firmly.
- Cover with breathable cloth (as in step 4) and monitor for another 5 – 7 days.
Solution 3 – Increase ambient temperature (apply when the weather is too cold):
- If the ambient temperature is below 20°C, move the fermentation container to a slightly warmer, enclosed room with a stable temperature (avoid direct heat sources like stoves).
- You can use a heating mat or a gentle heat lamp to raise the surrounding temperature (do not exceed 40°C, as that may inhibit beneficial microorganisms).
- After raising the temperature, monitor for another 3–5 days.
Solution 4 – Address excessive evaporation (dry mixture):
- If the cover is too breathable, replace it with a thicker cloth or several layers of newspaper.
- Note that traditional KNF recommends not adding water because fresh fish already contain enough moisture. Only add water when truly necessary and in minimal amounts.
Final note: If after 14 days of troubleshooting the mixture still does not produce liquid, the fish material is likely unsuitable (e. g., dried fish, heavily salted fish, or cooked/heat‑treated fish lacking natural moisture). In this case, it is best to discard the batch and start over with fresh or appropriately raw fish byproducts.
3.3. Problem: Maggots appear in the fermentation container
The batch can still be saved (maggots indicate a surface issue, but the batch can often be saved if caught early) if detected and treated in time. Understand the nature: maggots are fly larvae; they are attracted to the fishy smell and lay eggs on the mixture. Maggots consume nutrients, multiply rapidly, and quickly ruin the batch. Act immediately upon discovery.
Ensure the top layer of fish is completely covered with a “cap” of packed brown sugar to prevent fly access. Do not use an airtight lid; maintain a breathable cloth cover.
Solution 1 – Create a protective sugar cap
- Do not use an airtight lid – this can be dangerous due to gas pressure buildup. Instead, create a 2–3 cm thick sugar cap (about 1/2 – 3/4 inch) on top of the mixture, pressing it firmly so that no fish meat is exposed. This sugar layer creates osmotic pressure, inhibiting flies from laying eggs, while still maintaining a breathable cloth cover above to allow gas to escape.
Solution 2 – Manually remove maggots and add beneficial microorganisms:
- If the infestation is mild, use a clean spoon to skim off the maggots from the surface (they can be fed to chickens or fish).
- After removal, add more brown sugar, along with a small amount of microbial inoculant (such as IMO) to aid in the decomposition process.
- In handmade FAA production, the osmotic pressure from brown sugar and the action of beneficial microbes naturally break down the fish and suppress issues.
Important note: Never use insecticides or toxic chemicals in an FAA fermentation container to ensure safety for plants and users.
Key FAO reminder: A FAO study pointed out that untreated fish materials must be covered immediately at the start to avoid flies, and that sufficient acid or adequate fermentation conditions will make the mixture no longer attractive to flies.
3.4. Problem: The fermentation container swells or foams over due to gas pressure
When FAA mixture begins fermenting, microorganisms break down sugars and proteins, producing gas – this is called gas formation. Without an outlet, gas accumulates and causes the container to swell, potentially exploding or rupturing the vessel.
Solution
- Step 1 – Release gas immediately: Open the lid slowly and carefully, as pressure may cause liquid to spray out. Open the container in a well‑ventilated area, pointing the lid away from your face and body. After releasing the gas, check the swelling level.
- Step 2 – Replace with a breathable cover: Replace any airtight lid with thick cloth, paper, or mosquito netting and secure with a rubber band or string. To release gas, slowly and carefully open the lid, then replace it with a breathable cloth cover to allow gas to escape naturally.
- Step 3 – Adjust container capacity: If the container has swollen multiple times due to being overfilled, divide the mixture into additional containers, ensuring each is filled to no more than 2/3 of its volume.
After switching to a breathable cover, monitor the container. The cloth or mesh will naturally allow gas to escape, permanently preventing any further pressure buildup.
If the container has swollen to the point of deformation, open it outdoors, release all pressure, then assess the condition of the FAA. If the FAA smells putrid or has mold, discard the entire batch.
Important reminder: Never screw the lid tightly during the active fermentation process (typically the first 1-2 weeks). Once fermentation is complete and stable (after about 7-10 days, when the fish has started to liquefy and bubbling has subsided), you can safely use a regular screw cap for long-term storage.
>>> Learn exactly how to use FAA for different plant stages in this guide: Fish Amino Acid Fertilizer Uses: 10 Practical Ways to Apply FAA in Your Garden and Farm
4. 3 Signs Your Fish Amino Acid Is Ready
After weeks or months of fermentation, how do you know when your FAA is ready to use? Here are 3 key signs to look for before harvesting and applying your homemade fertilizer
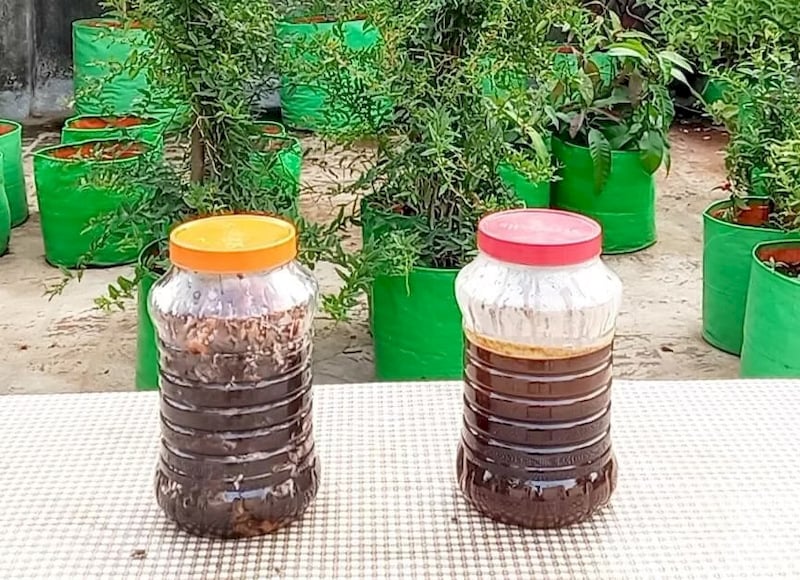
#1 – Color: Reddish brown to dark brown, syrupy consistency
Successful FAA liquid has a reddish‑brown or dark brown color, syrupy like honey, not cloudy. The dark color naturally comes from the brown sugar and the microbial breakdown of the fish.
#2 – Smell: Pleasant, like fermented soy sauce
Proper FAA has a pleasant, mild scent reminiscent of soy sauce (shoyu) with a characteristic fermented note. There is no sharp fishy smell, no ammonia odor, and no putrefied stench like decomposing fish carcasses. This is a clear distinction between properly fermented FAA (controlled protein hydrolysis) and a rotten mixture.
#3 – State: Significant liquid extracted
A significant amount of liquid has been drawn out of the fish. While it takes up to 6 months for the solid parts to completely dissolve, the liquid that forms after 1 – 2 weeks is ready for use.
5. FAQs
5.1. Can I use any type of fish to make FAA?
Yes, you can use almost any fish to make FAA. However, for optimal results, prioritize blue‑black fish such as mackerel, scad, sardines, herring, etc., because they are rich in protein, vitamins, and essential fatty acids. Lean white fish like tilapia and pangasius can still be used but the overall nutrient content will be lower. You can combine different types of fish to create a nutritionally diverse FAA.
5.2. Does homemade fish amino acid fertilizer smell bad?
If the process is done correctly with a 1:1 ratio, the finished FAA will have a mild, pleasant smell similar to soy sauce with a slight fermented fish note – not putrid. The natural fishy odor gradually diminishes, leaving only the characteristic fermented aroma. If your FAA has a putrid smell, that indicates the mixture has rotted – follow the troubleshooting guide in section 3.1.
5.3. How long does homemade FAA last?
FAA is shelf-stable for years when stored in a cool, dark environment (e. g., a pantry or cupboard)..
5.4. Is FAA safe for all plants?
While natural and friendly to most crops, FAA is highly concentrated in nitrogen. It is best applied during the vegetative growth phase to encourage bushy foliage, rather than during the flowering or fruiting stages. A comprehensive review by the Food and Agriculture Organization of the United Nations (FAO) has confirmed the value of fish‑based fertilizers and fish waste in organic farming, especially for field crops and garden plants, due to their ability to supply macronutrients such as nitrogen (N), phosphorus (P), and micronutrients, as well as to promote nutrient recycling.
Now that you know how to make fish amino acid fertilizer at home, you have a sustainable, cost‑effective, and efficient solution for utilizing fish byproducts. With a 1:1 ratio of fish to brown sugar and a fermentation time of 3 ‑ 6 months, you will obtain a high‑quality, organic nitrogen fertilizer for your plants. Start with a small batch, follow the process carefully, and be patient in monitoring it. Good luck!


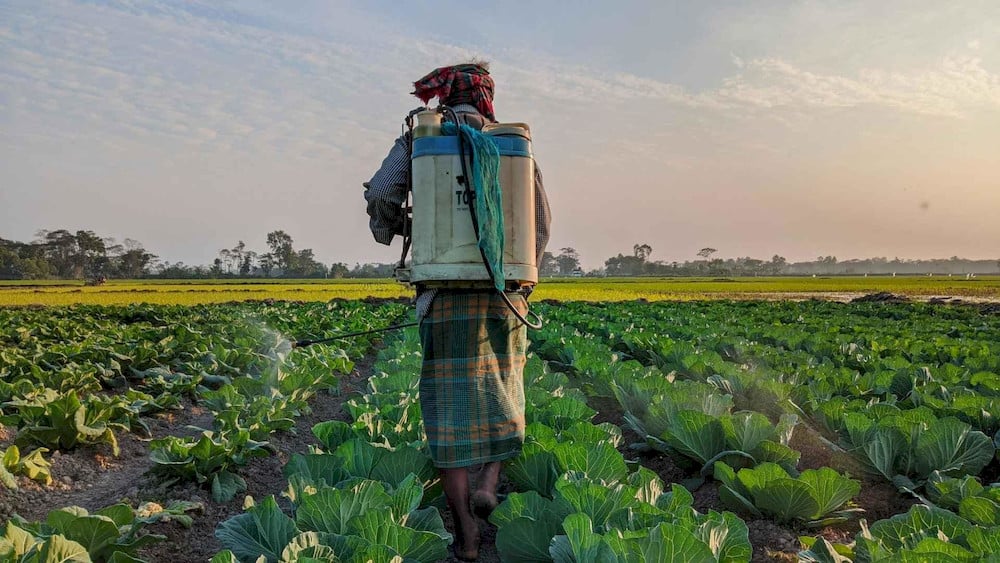
Amino acid protein hydrolysate fertilizer is a sustainable biostimulant produced by chemically or enzymatically breaking down organic proteins into readily available amino acids and peptides. By supplying these pre-formed building blocks, it enables plants to absorb nutrients more efficiently without expending additional energy to synthesize amino acids from inorganic nitrogen. As a result, this fertilizer […]
Micronutrients for banana plants play a vital role in supporting healthy growth, efficient photosynthesis, strong bunch development, and consistent fruit quality throughout the growing season. Although these nutrients are only required in trace amounts, deficiencies can quickly reduce plant vigor, lower yields, and increase susceptibility to environmental stress. This guide explains the seven essential micronutrients […]
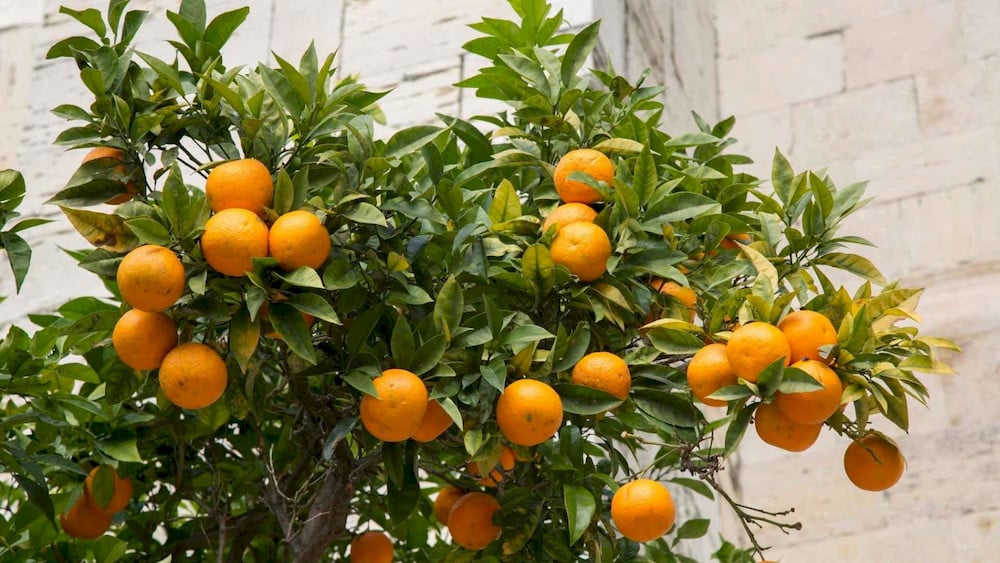
Micronutrients for citrus trees are just as important as NPK fertilizers for producing sweeter fruit, better peel color, and consistently high yields. Without an adequate supply of essential trace elements, citrus trees can develop nutrient deficiencies that reduce fruit quality, weaken growth, and limit overall productivity even when macronutrient requirements are met. This guide explains […]
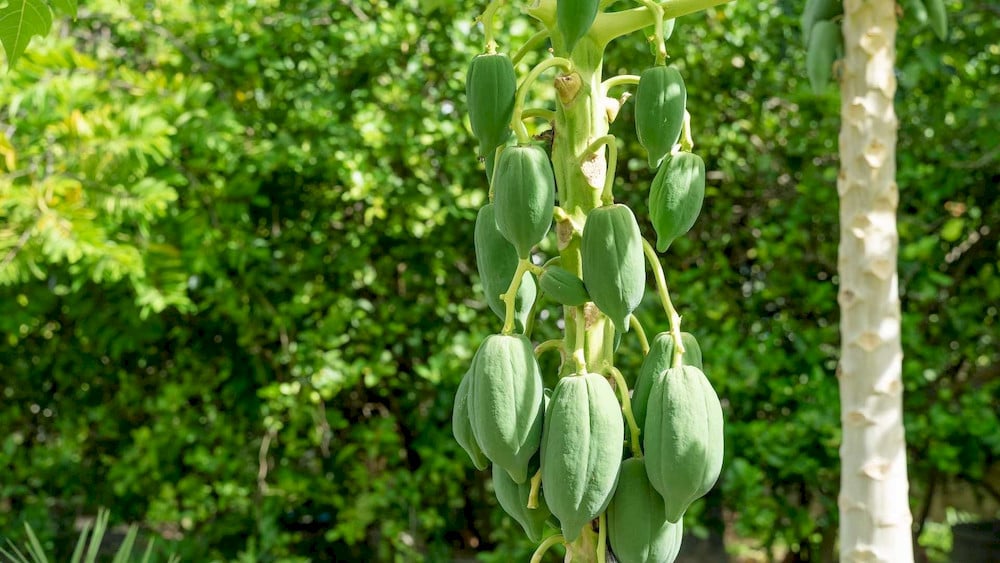
Achieving uniform, high-quality papaya fruits requires more than just a balanced NPK supply. Micronutrients for papaya plants, including Boron, Zinc, Iron, Manganese, and Copper, regulate key processes such as flowering, fruit formation, sugar accumulation, and plant defense. Understanding the function of each micronutrient and recognizing early deficiency symptoms allows growers to develop a more precise […]
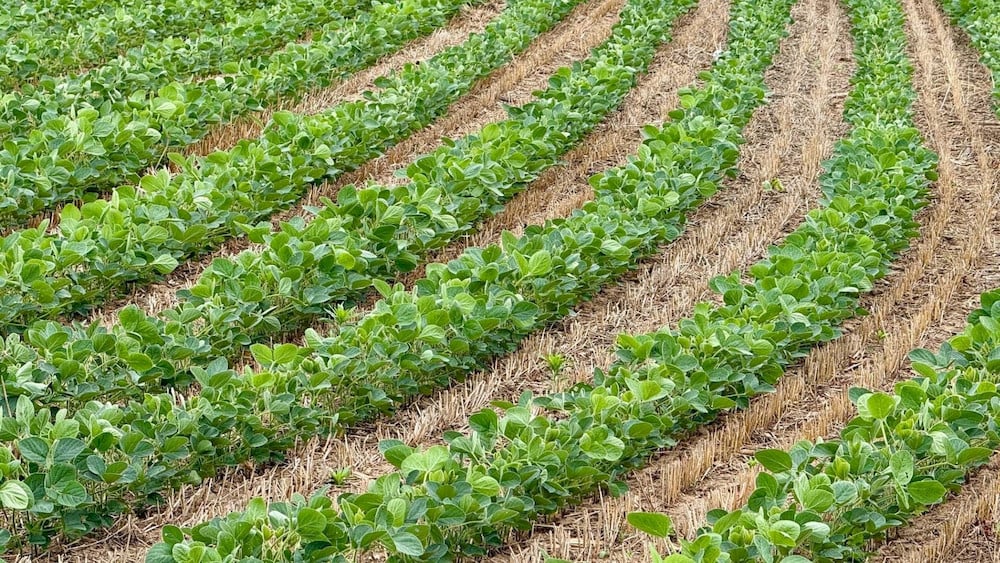
Soybean yield depends not only on nitrogen, phosphorus, and potassium but also on an adequate supply of essential micronutrients. Although required in small amounts, these nutrients regulate critical processes such as photosynthesis, nitrogen fixation, enzyme activation, and seed development. This guide explores the 9 essential micronutrients for soybeans, their functions, deficiency symptoms, and the most […]
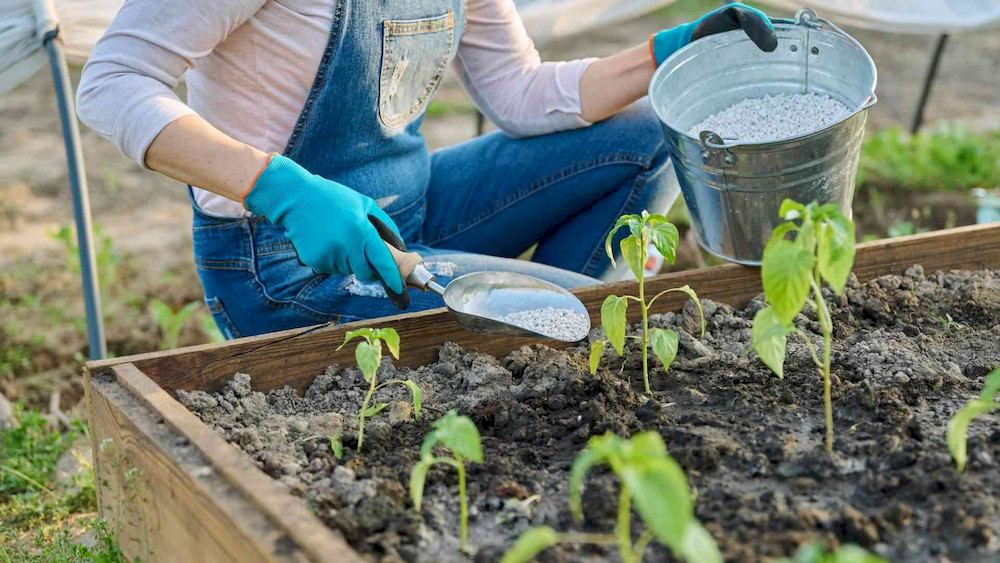
Micronutrient fertilizers play an important role in supplying essential trace elements that support healthy crop growth and optimize yield potential. However, not everymicronutrient fertilizer typeperforms the same, as nutrient availability and effectiveness can vary depending on soil conditions and application requirements. From inorganic sources and synthetic chelates to natural organic complexes, each option offers unique […]